Announcement

Collapse
No announcement yet.

Saggy Cowl

Collapse
X
 
  • Filter
  • Time
  • Show
Clear All
new posts

  • Saggy Cowl

    Hi All,

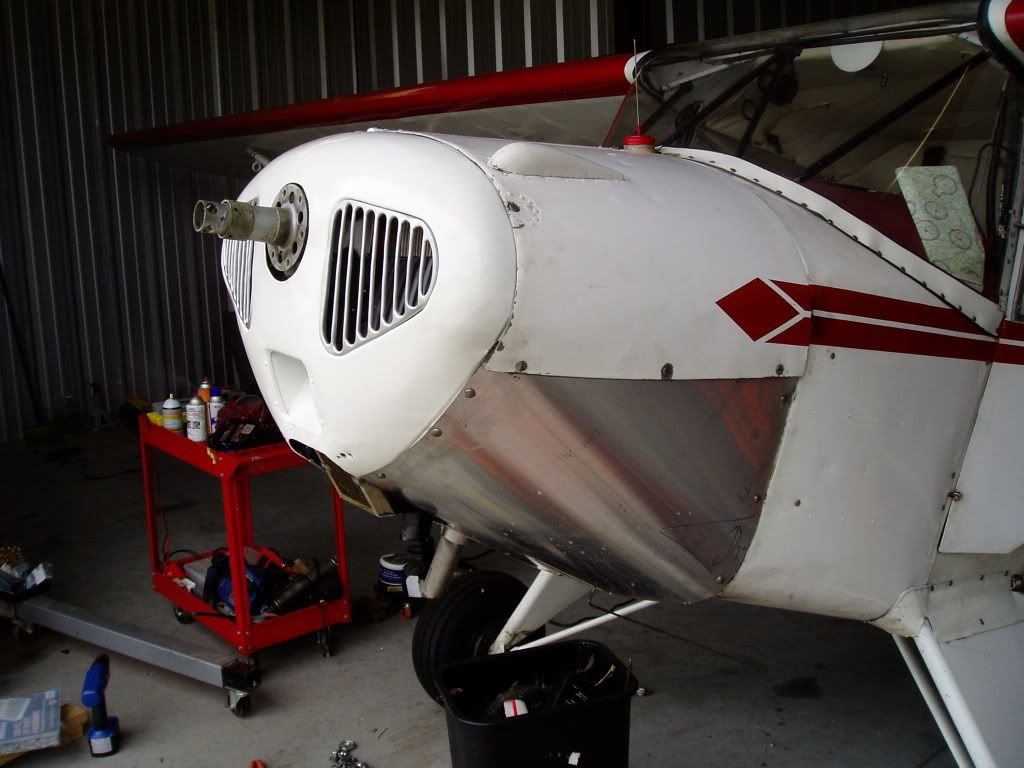
    my BL-65 was converted to a Continental back in '65-'65. I've got cowl bumps and cracks in the panels. I've been working hard to rebuild the bottom cowl section and am pretty happy with the results:



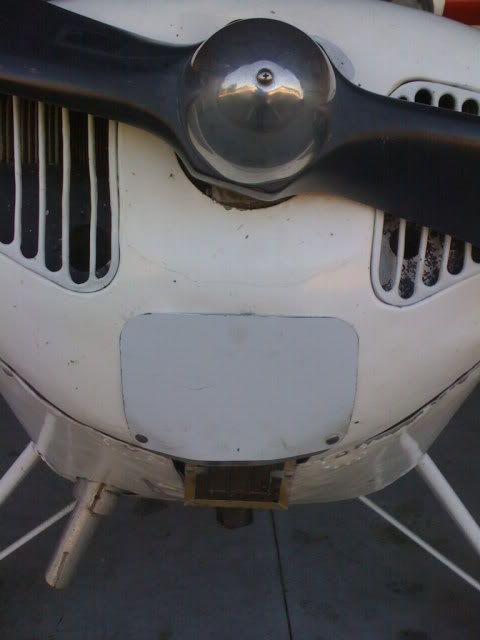
    So now I need to tackle the top cowl sections. I'd love to get rid of the cowl bumps, but I have NO clearance on the top. Looking at the nose bowl from the front, I have very little gap at the top and lots at the bottom of the prop hub hole.
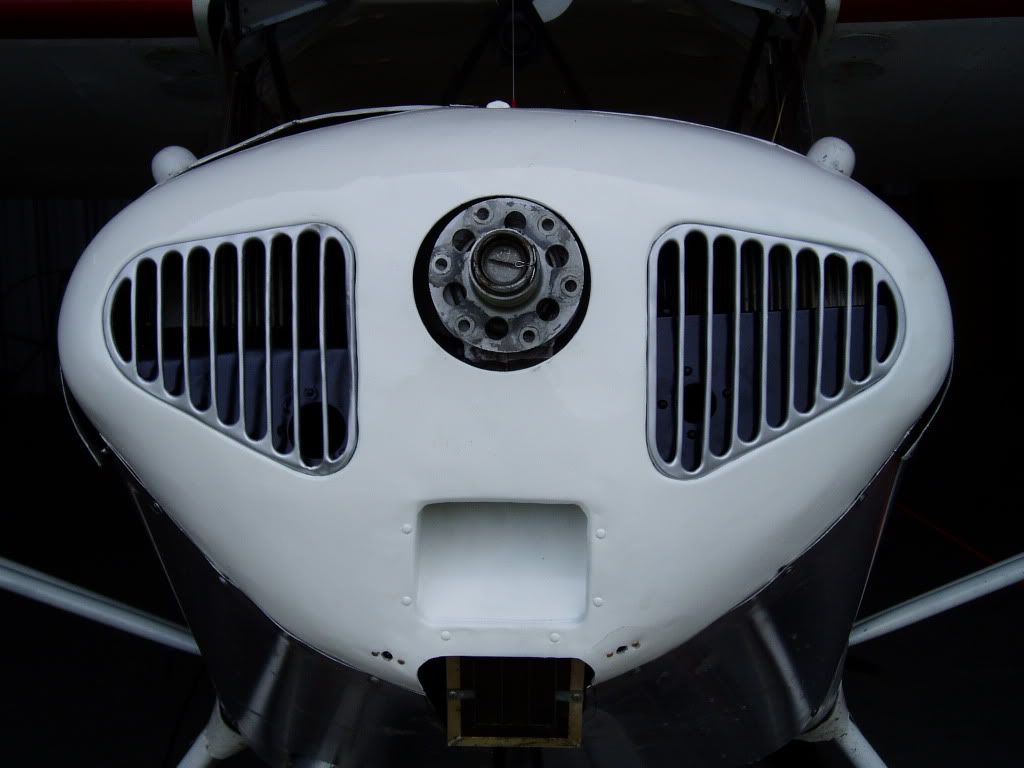


    It was like this when I got it, and since I duplicated the bottom section as exactly as I could, I got the same result. Duh! (Don't worry, the baffles weren't secured here. That's why they were cockeyed!)

    So my question is: Should I just start over and make a mandrel to fit the hole in the nose bowl and the prop shaft and hang it there to make templates to redo all the cowl sections? I think if I can shift the works up 1/2" or so, I can easily put the REM37BY plugs in without bumps and not even mess with the Ercoupe cups.

    Thanks,

    Josh Brehm
    NC24369
    Winterville, NC


    Bashibazouk AKA Josh Brehm
    BL-65 #1705
    TF #910
    NC47~ South Oaks Aerodrome
    EAA 1423
    Winterville, NC

  • #2
    Re: Saggy Cowl

    Just my initial thoughts, Josh:

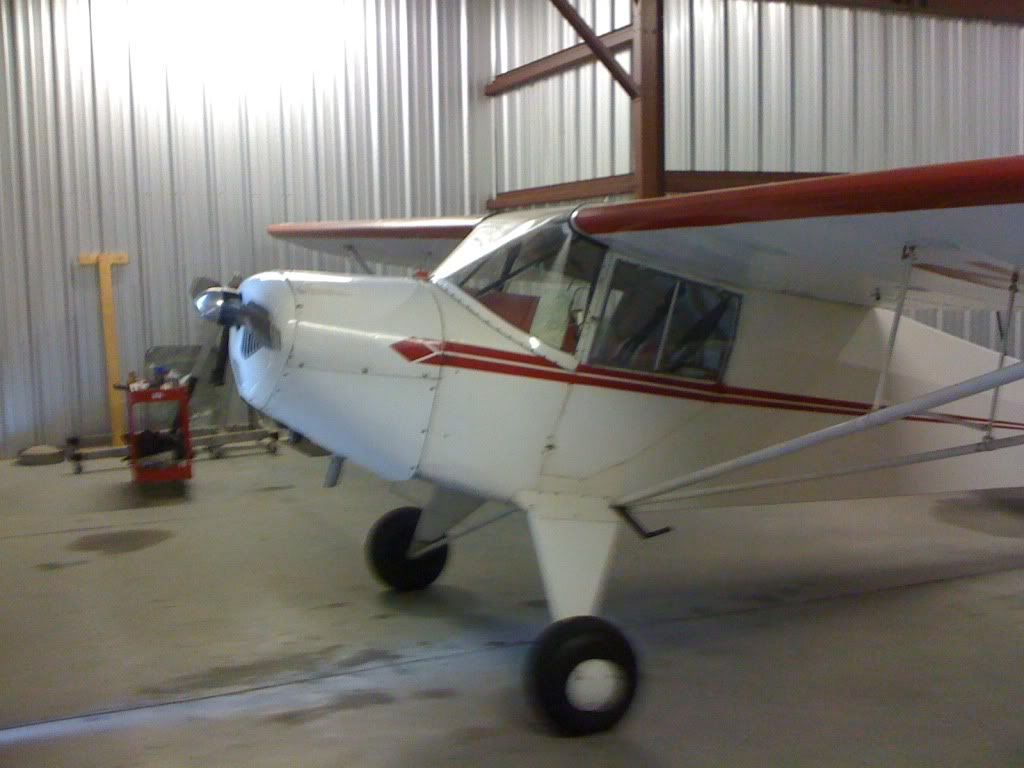
    Part of the problem may be the lower cowl itself. I don't know about your 1940 model, but my previous 1941 and my current 1946 models both have compound curve lower cowls. Yours looks like a single curve (flat sheet bent over, if you will).

    It's difficult to show it in a photo because the compound curve is so slight...this is the best I have:


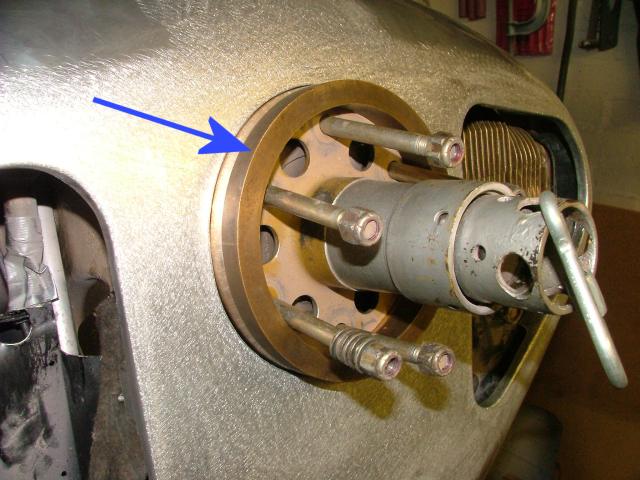
    This might raise the front lip when compared with yours, so raising the aperture for the crankshaft. I did use a mandrel to locate the prop flange:


    Even then, under gravity, it still dropped a bit (maybe by 1/16"). If I were to do it agin, I'd bias the mandrel up a bit by that 1/16th to allow for the cowl weight.

    I'm not sure that in your case it would raise the top cowl to fit the plugs that you want.

    Bearing in mind that it's a monocoque cowl mounted from the firewall, are the mounting holes for the whole cowl assembly a bit loose with age? Could these be causing the droop?

    Comment


    • #3
      Re: Saggy Cowl

      Thanks, Robert.

      The pictures are great. I see what you mean by the compound curves. My original was not original apparently and that helps explain the stress cracking at the air intake opening. I think I'll go back to the drawing board and try again with the mandrel you suggest.

      Josh


      Bashibazouk AKA Josh Brehm
      BL-65 #1705
      TF #910
      NC47~ South Oaks Aerodrome
      EAA 1423
      Winterville, NC

      Comment


      • #4
        Re: Saggy Cowl

        You don't need to make a new cowl, you just need to finish that one.
        If you can get access to an English Wheel your cowl needs to be bowled out on the bottom, which will make it longer, and that will cause you to need to shrink the front edge so the fasteners will fit the bowl again. The net effect of these operations will move the bowl up.
        English Wheels are a lot of fun, but need to be treated with a lot of respect. As you roll the cowl the wheels can crush your fingers as flat as a sheet of paper. It is a real pinching machine and will grab the edge of your finger or hands so quick it's scarry. Not trying to put you off because it really is a blast to watch a piece of flat aluminum become a smooth curved cowl.
        Find someone who has one to show you the ropes on a wheel and you won't regret it.
        Hank
        By the way, there is a pretty good chance you will end up making that second cowl anyway. I have screwed up some aluminum pretty bad, but I haven't smashed a digit yet. Just got to be careful.
        I HAVE cut myself a couple of times on the edge of the metal, but if you do metal work you will do that no mater HOW careful you are. It's worth it.

        Comment


        • #5
          Re: Saggy Cowl

          I am not sure the shape of the cowl being compund or flat would make a difference in the location of the bowl. I think you just need to make a fixture to locate the bowl and work from it.

          Where some of the laterT-crafts built with "flat" bottom cowls?

          I am also making a cowl. I made a fixture to do what Robert did to locate the nose bowl. I went to a local heating contractor and bought steel sheetmetal. This is much cheaper and easier to get than aluminum. I have made 2 so far, I am very happy with the second one and plan to use it as a template to make the final cowl from aluminum.

          My process was to make the first template from stiff cardboard. From that I made the first one from the steel sheetmetal. I then layed out all of the demension lines so I could take some measurements. The mesaurements showed the template was not symetrical. From this information, I layed out the second cowl to make the hole locations symetrical and fine tuned the hole locations by careful measuremnets of the bowl and booth cowls.

          This is a slow process, but I think I am zeroing in on a workable part.
          Ray

          Comment


          • #6
            Re: Saggy Cowl

            Hank and Ray,

            You're right, I'll be making a new one anyway! I went nuts and made the one that's on there out of 2024T3 and that's not very workable stuff. I'll have to go a little softer and borrow my neighbor's wheel. Another neighbor's got a shrinker so between all of us, I should get a cowl out of the deal.

            Templates are definitely the way to go. It makes perfect sense now that the bottom cowl should be dished. I couldn't figure out why the edge of the nosebowl was at such a wacky angle relative to the bowl. It mated fine once I smooshed it together, but it was/is definitely under stress.

            Thanks for the input, guys!

            Josh
            Last edited by bashibazouk; 10-09-2009, 18:35. Reason: spelling


            Bashibazouk AKA Josh Brehm
            BL-65 #1705
            TF #910
            NC47~ South Oaks Aerodrome
            EAA 1423
            Winterville, NC

            Comment


            • #7
              Re: Saggy Cowl

              Just a little hint... a 3# coffee can is about the right size for the opening on the nosebowl... just a little foam (such as thick weatherstripping) around the middle of it and it'll fit nicely. I took one and then punched the holes in it to fit over the prop shaft, with the ability to fasten it to the flange, to keep it from moving....works great!
              Josh, you can anneal that aluminum with a flame of pure acetylene... just let it get all black with the flame and it'll amaze you how much nicer it will be to work. (wipe off the carbon to keep the mess down) Not having an english wheel shouldn't stop ya...just use some sandbags and a slapper and if you're gentle and patient, you'll get your curve....been there, done that...but a wheel is much faster!
              JH
              I'm so far behind, I think I'm ahead

              Comment


              • #8
                Re: Saggy Cowl

                Use 3003 H-14 .063 or .050 for the bottom cowl, Its easy to work and is the correct material, 2024 is not correct for the older aircraft. Tim
                N29787
                '41 BC12-65

                Comment

                Working...
                X